Setup ActDK
This page was machine-translated. The Japanese page is the official version.
Next, let’s set up ActDK on your PC. Follow these steps in order: download ActDK, place the binary, configure PATH, issue a Developer Token, and initialize ActDK.
Download ActDK
Your group must be promoted to a vendor group to download ActDK. If your development group is not yet a vendor group, promote it first.
- Once the group has been promoted,
VENDORappears next to its group ID in the console.
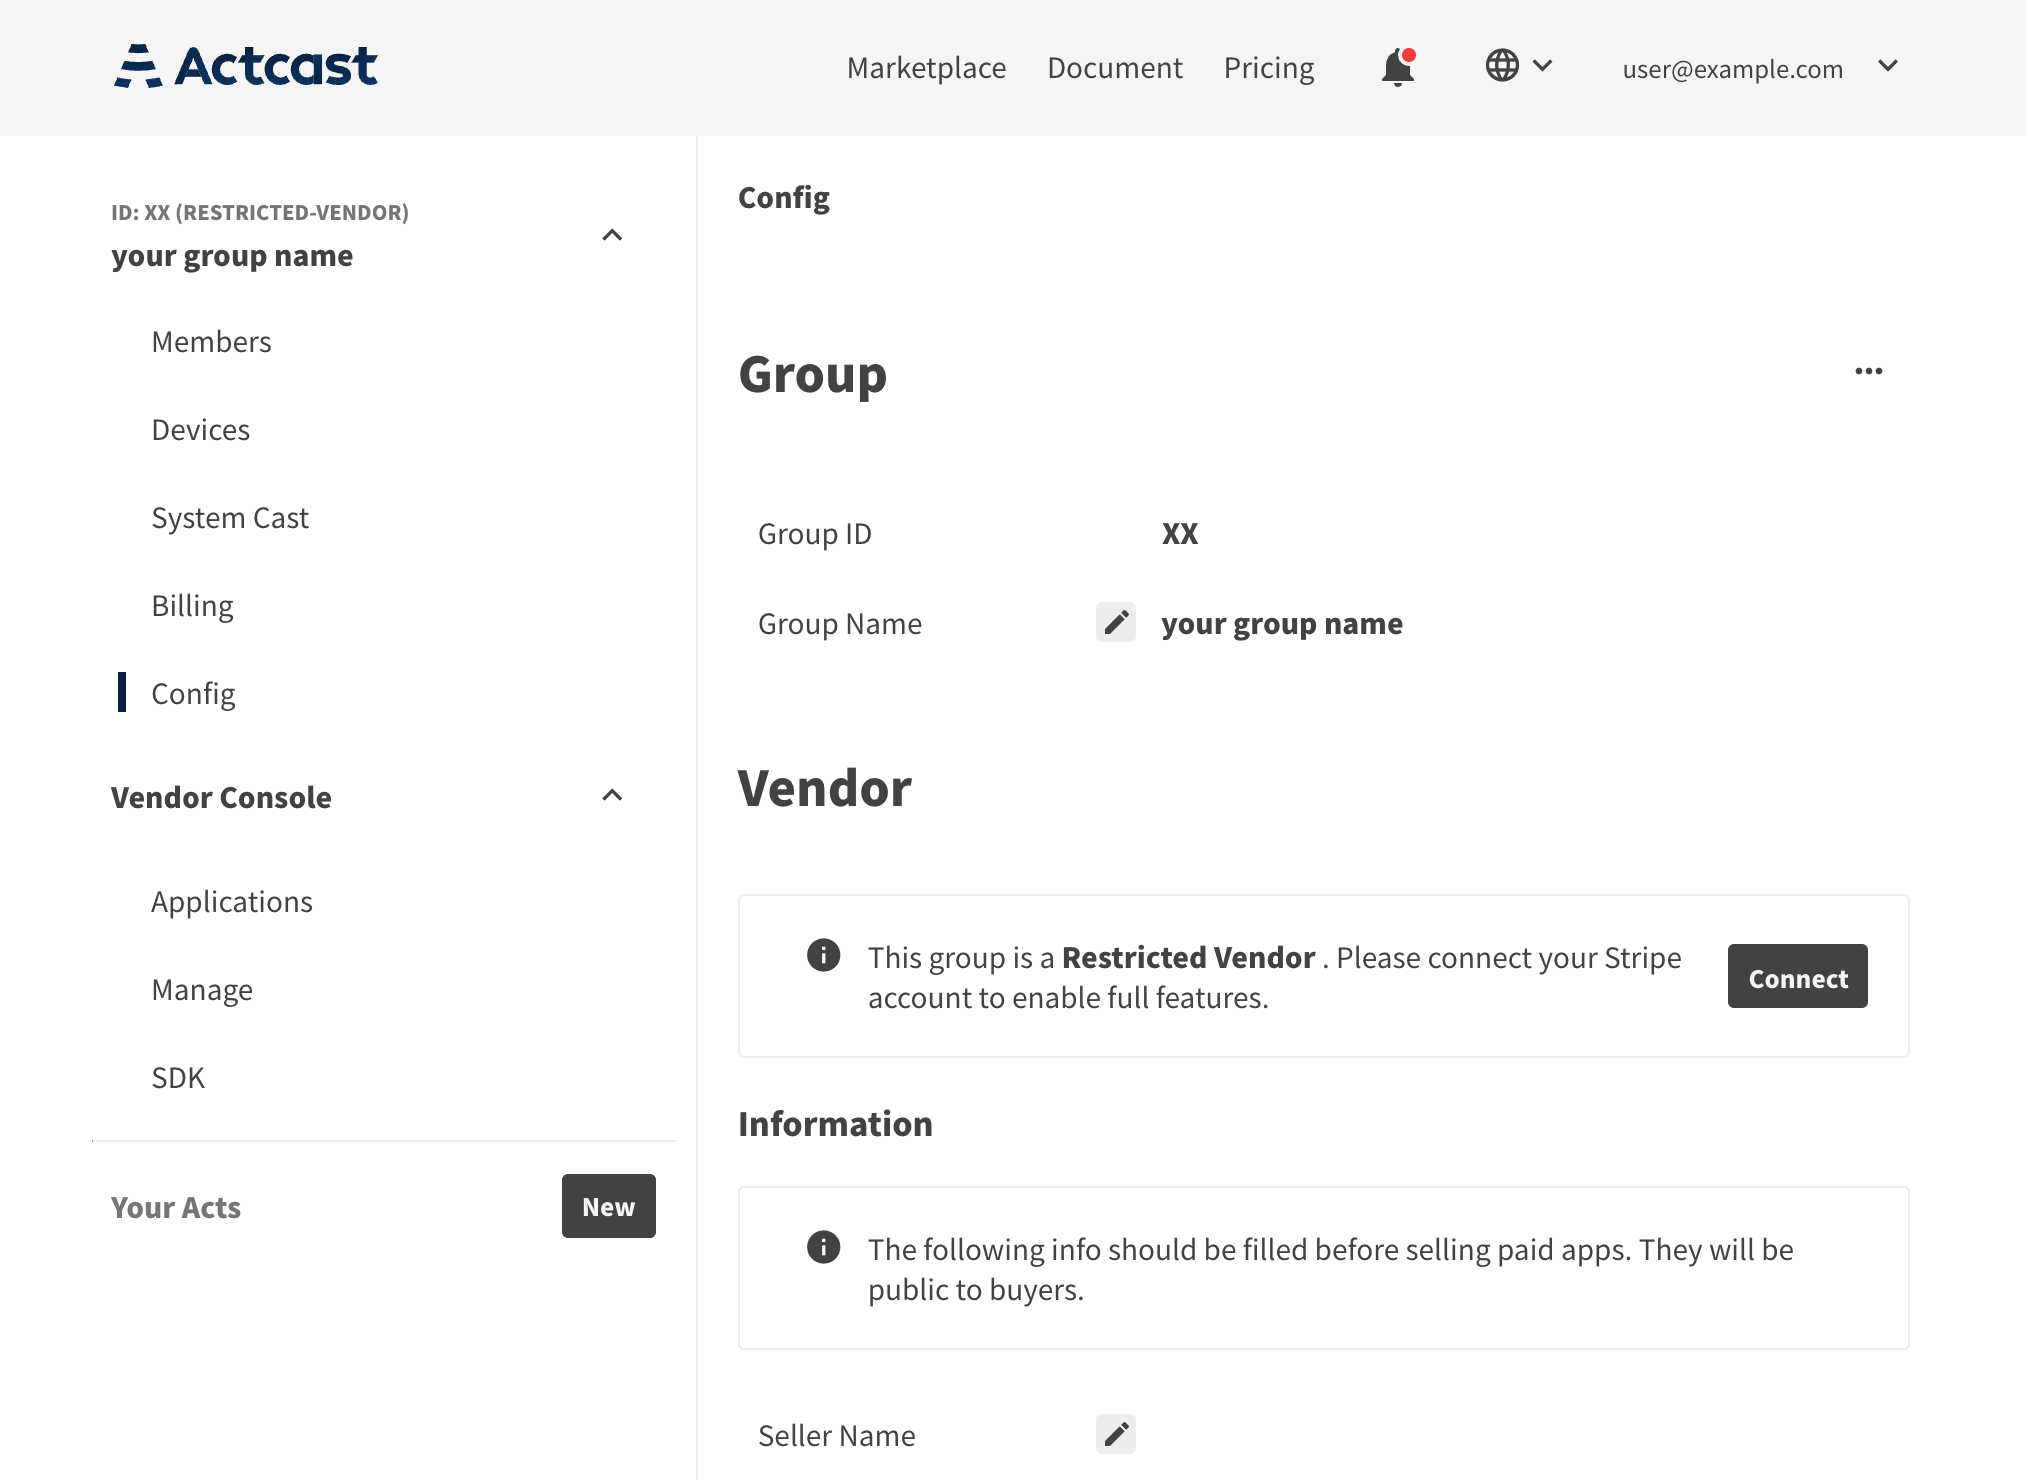
For groups that have completed this step, Vendor Console appears in the left menu.
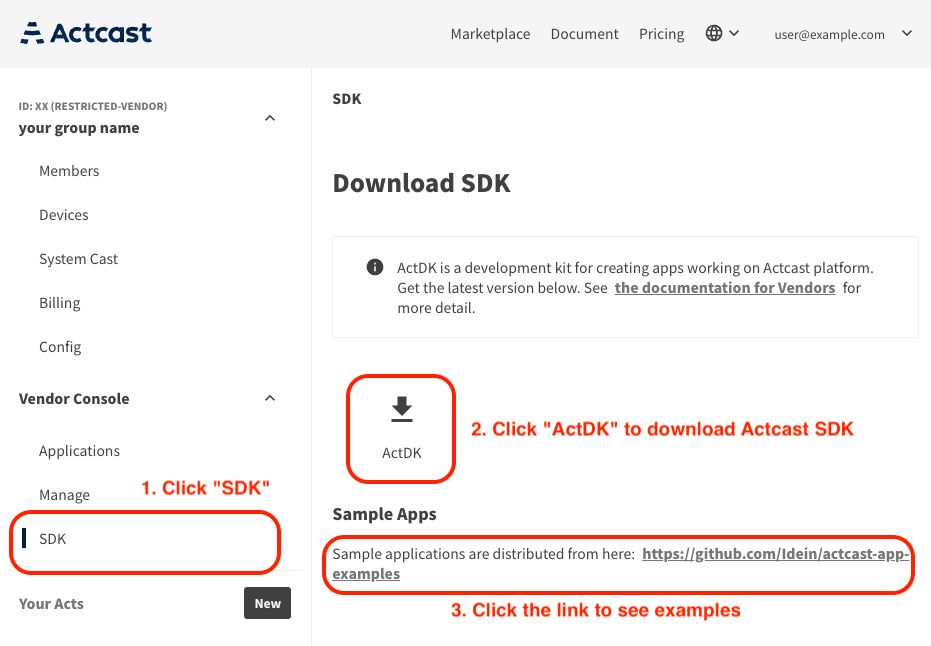
Click SDK to download ActDK. Extract actdk-raspberrypi.zip to access the ActDK binaries.
Rename the appropriate file below to actdk, depending on your environment.
Linux (x86_64)
- On Ubuntu 22.04, rename
actdk-ubuntu-22.04toactdk.
macOS (arm64)
- On macOS (arm64), rename
actdk-macos-arm64toactdk. macOS support is experimental.- The first time you run this binary, the following dialog appears and execution is blocked.
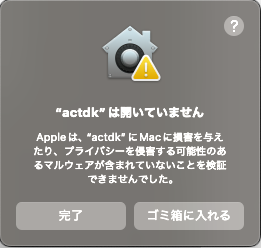
- Open
Security & Privacyin macOSSystem Settingsand clickAllow Anyway, as shown below.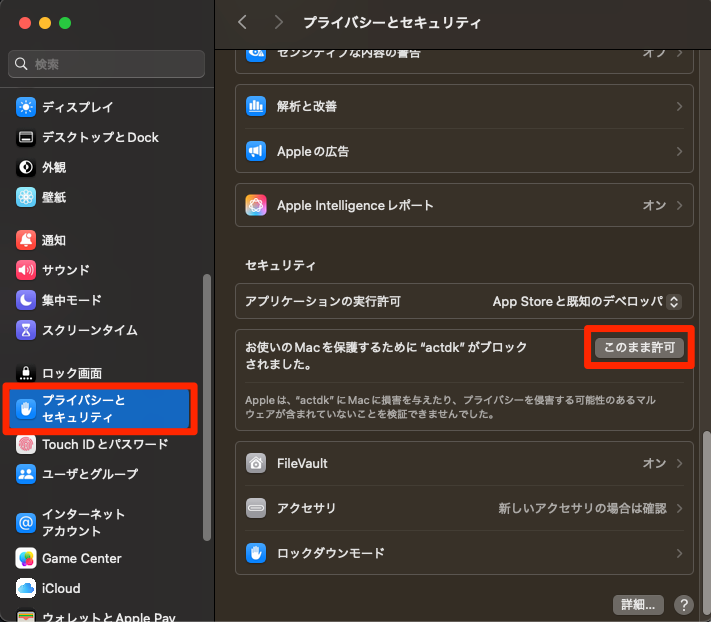
- A warning appears again when you run the binary. Click
Open Anywayand enter your password to run it. Once allowed, the binary runs without further warnings.
- The first time you run this binary, the following dialog appears and execution is blocked.
You can also get sample applications from the actcast-app-examples repository on GitHub.
Binary Location
Place the actdk binary downloaded and renamed above at $HOME/.local/bin/actdk under your home directory.
The actdk update command updates actdk itself, but this requires your user to have write permission on both the destination directory and the binary file.
Avoid locations that require administrator privileges, such as /usr/bin or /usr/local/bin, and run the following commands without sudo.
In the directory containing the downloaded actdk binary, run:
$ mkdir -p "$HOME/.local/bin"
$ mv actdk "$HOME/.local/bin/actdk"
$ chmod u+rx "$HOME/.local/bin/actdk"
PATH Configuration
Add $HOME/.local/bin to the beginning of PATH so you can run actdk in the current shell.
$ export PATH="$HOME/.local/bin:$PATH"To keep this setting for future shell sessions, add the equivalent of the PATH setting above to your shell’s configuration file.
Verify the Binary Location
Run the following command and confirm that it displays the absolute path to .local/bin/actdk under your home directory.
$ command -v actdkIssue a Developer Token
To initialize ActDK, you need a Developer Token issued for a vendor group.
Issue a token on Actcast Web UI as follows:
- Select a group for this tutorial.
- Select
Vendor Console>Manageon the left menu. - Press the
Generate Newbutton on the right panel.

Enter a one-line description of the token in Description and press the Generate Developer Token button.

You will use this token in Initial Setup below. Copy and save the token because you cannot view it again after leaving the page.

You can view issued tokens on the Manage page.

Initial Setup
You only need to run the following setup command once:
$ actdk setup <TOKEN>Use the Developer Token you just issued as the <TOKEN> argument.
This command creates the .actdk directory under your home directory.
See actdk manual for more detail.
Previous: Development Environment Preparation
Next: Create a Project