Create a Project
To create a project for Actcast application, follow the two steps below:
- Register a new application to Actcast.
- Initialize a project directory on your PC.
Register a new application to Actcast.
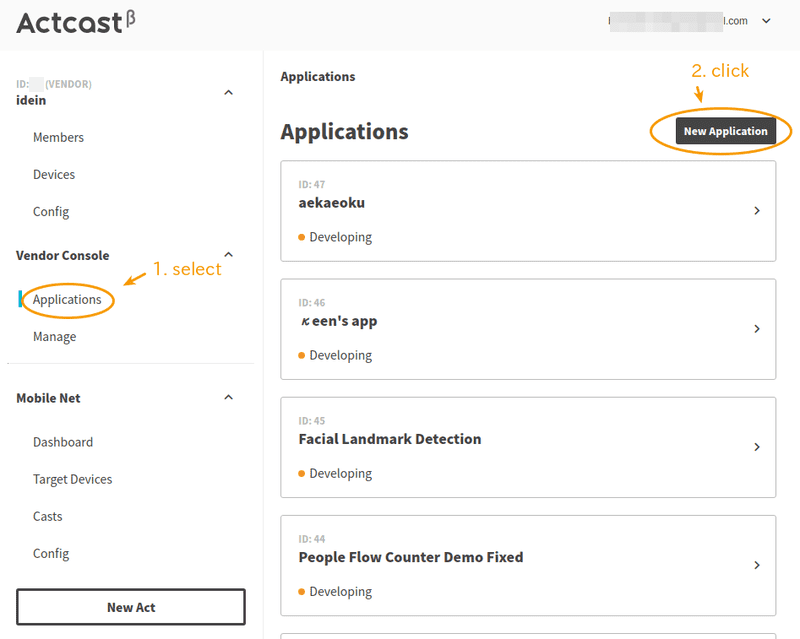
Create an application on Actcast Web UI:
- Select
Vendor Console>Application. - Click
New Applicationbutton.
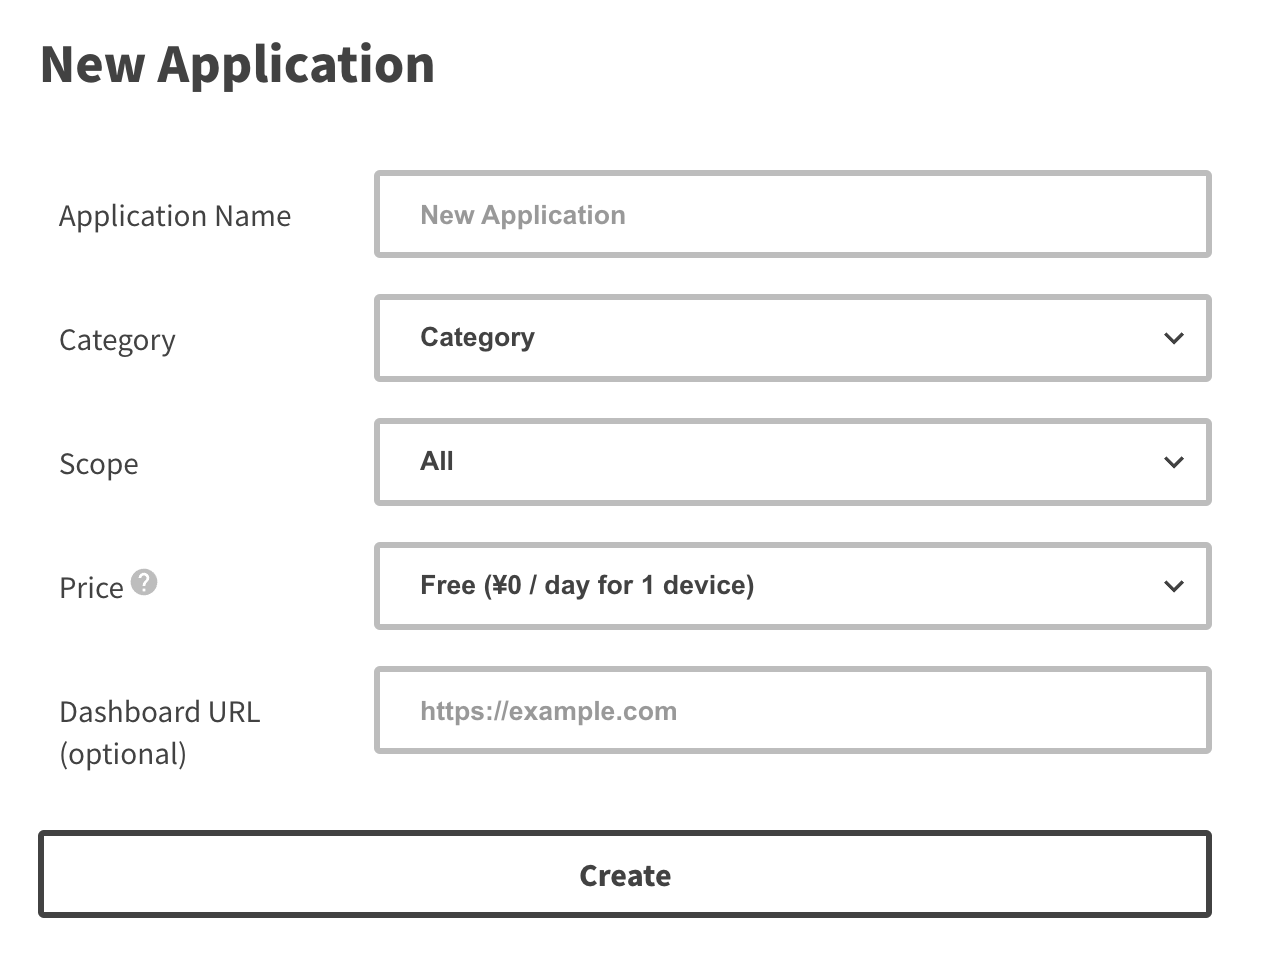
Fill in the following information on New Application
Application Name- Choose your application name.
- You can’t change this after creation.
TargetGroup- Specify the target group for publication.
Create the application by pressing the Create button; the new application now appears in the applications list.
You can view the details of the application on the application page.
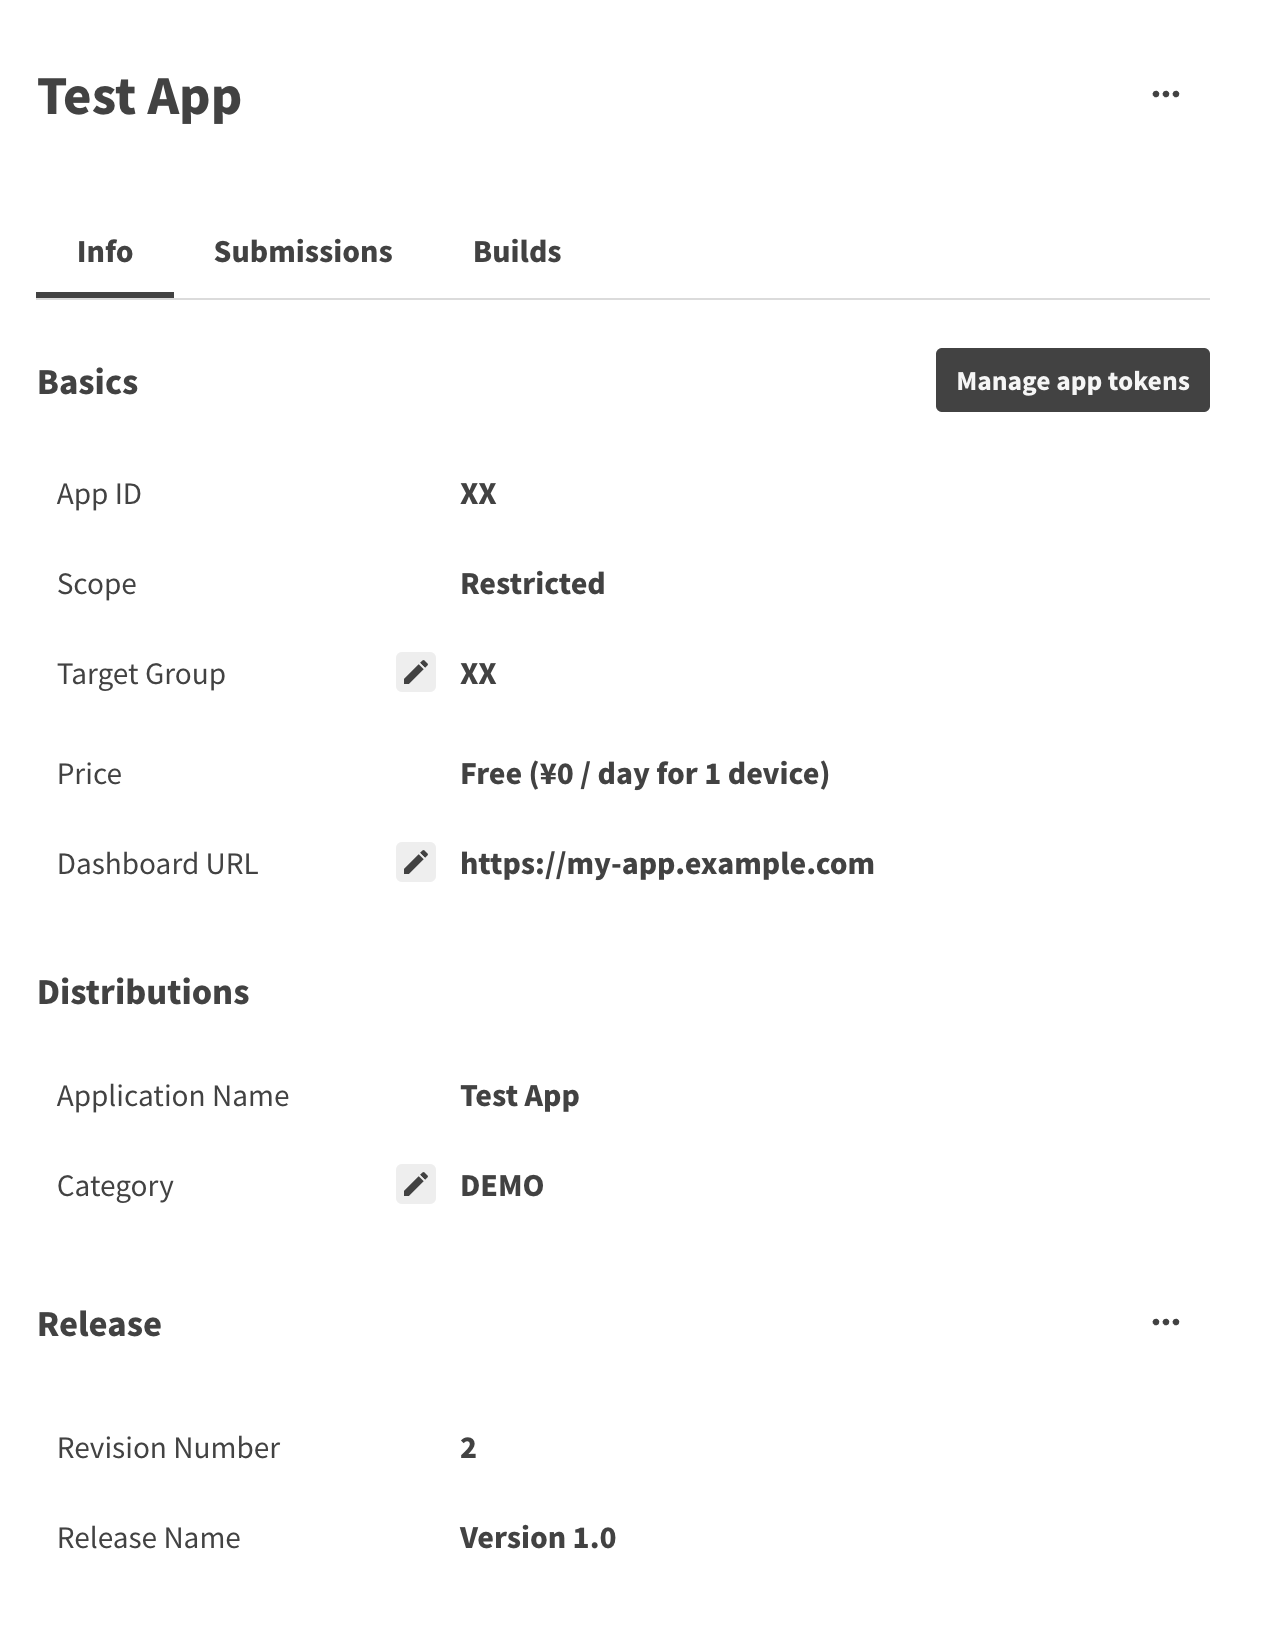
We use the application ID App ID in the next step.
Initialize project directory
Initialize the project directory as follows:
$ mkdir <APP_DIR>
$ cd <APP_DIR>
$ actdk init -i <APP_ID> -s <SHORT_DESCRIPTION> <APP_NAME><APP_NAME>- A unique identifier.
<APP_ID>- An application ID.
<APP_DIR>- Name of the directory you chose.
<SHORT_DESCRIPTION>- One-line description that expresses the application.
The command above creates the following directories:
appmodelincludemanifesto.actdk
See actdk manual for more detail.
Next: Implement an Actcast application
Previous: Setup ActDk
Last updated on