ai cast での Actsim セットアップ #
以下の環境を用いています。
- ai cast
- PC ( OS )
- Windows 11 Pro
- PC と ai cast を接続するためのケーブル
- Anker PowerLine+ USB-C & USB-A 3.0 ケーブル
- ソフトウェア ( それぞれのインストール方法は URL 先をご参照ください )
- rpiboot
- Raspberry Pi Imager
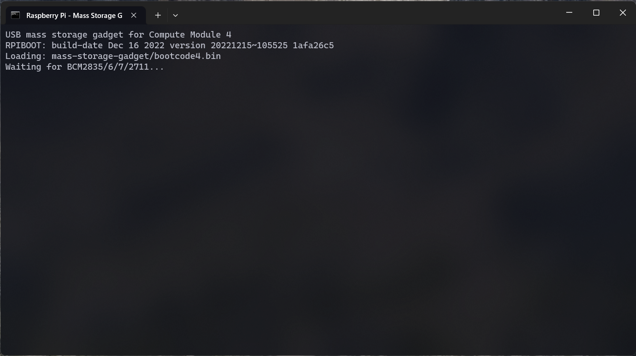
PC で rpiboot を起動します。
ai cast 側面のスイッチを BOOT に設定します。
ai cast と PC をケーブルで接続します。
ai cast に電源ケーブルを接続し、電源を入れます。
ai cast の eMMC を認識していることを確認します。
- 認識しない場合は PC と ai cast を接続する USB ケーブルを推奨のものに変更するか、Type-A to Type-A ケーブルの使用をお試しください。
PC で Actcast Documents : ActDK のダウンロード 記載の方法により ActDK をダウンロードし、解凍します。
PC で Raspberry Pi Imager を起動します。
Raspberry Pi Imager で eMMC をフォーマットします。OS > 削除 を選択し、ai cast の対象ストレージを選択して書き込むを押します。
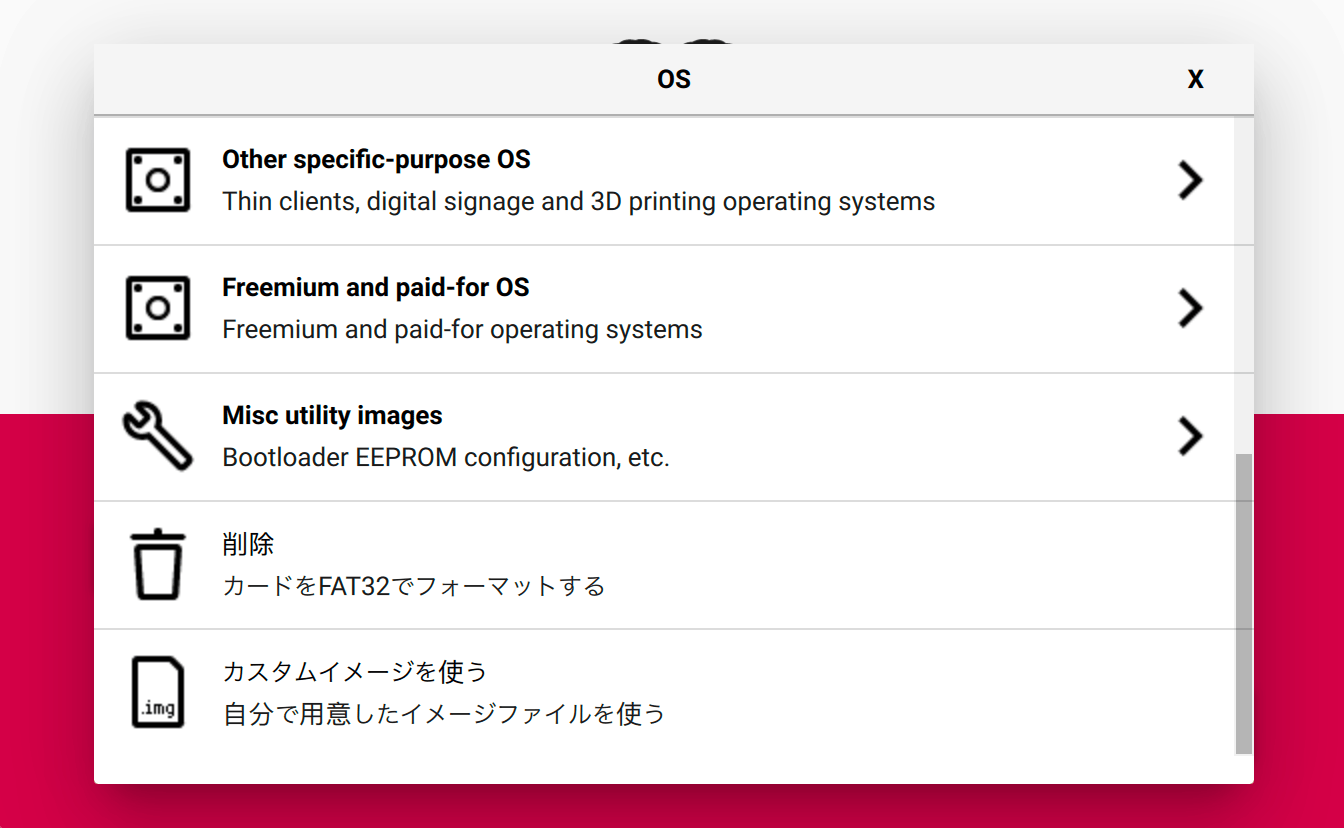
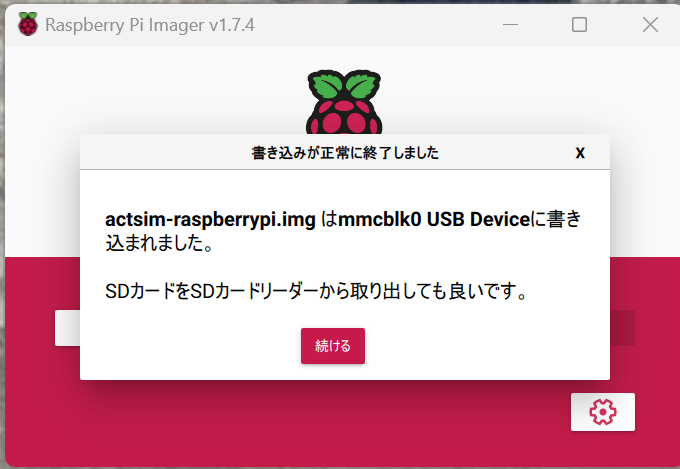
上で解凍した ActDK のディレクトリに含まれる actsim-raspberrypi.img を Raspberry Pi Imager で OS > カスタムイメージを使う から選択し、 ai cast の対象ストレージを選択して書き込むを押します。エラーが発生せず書き込みが終了することを確認します。
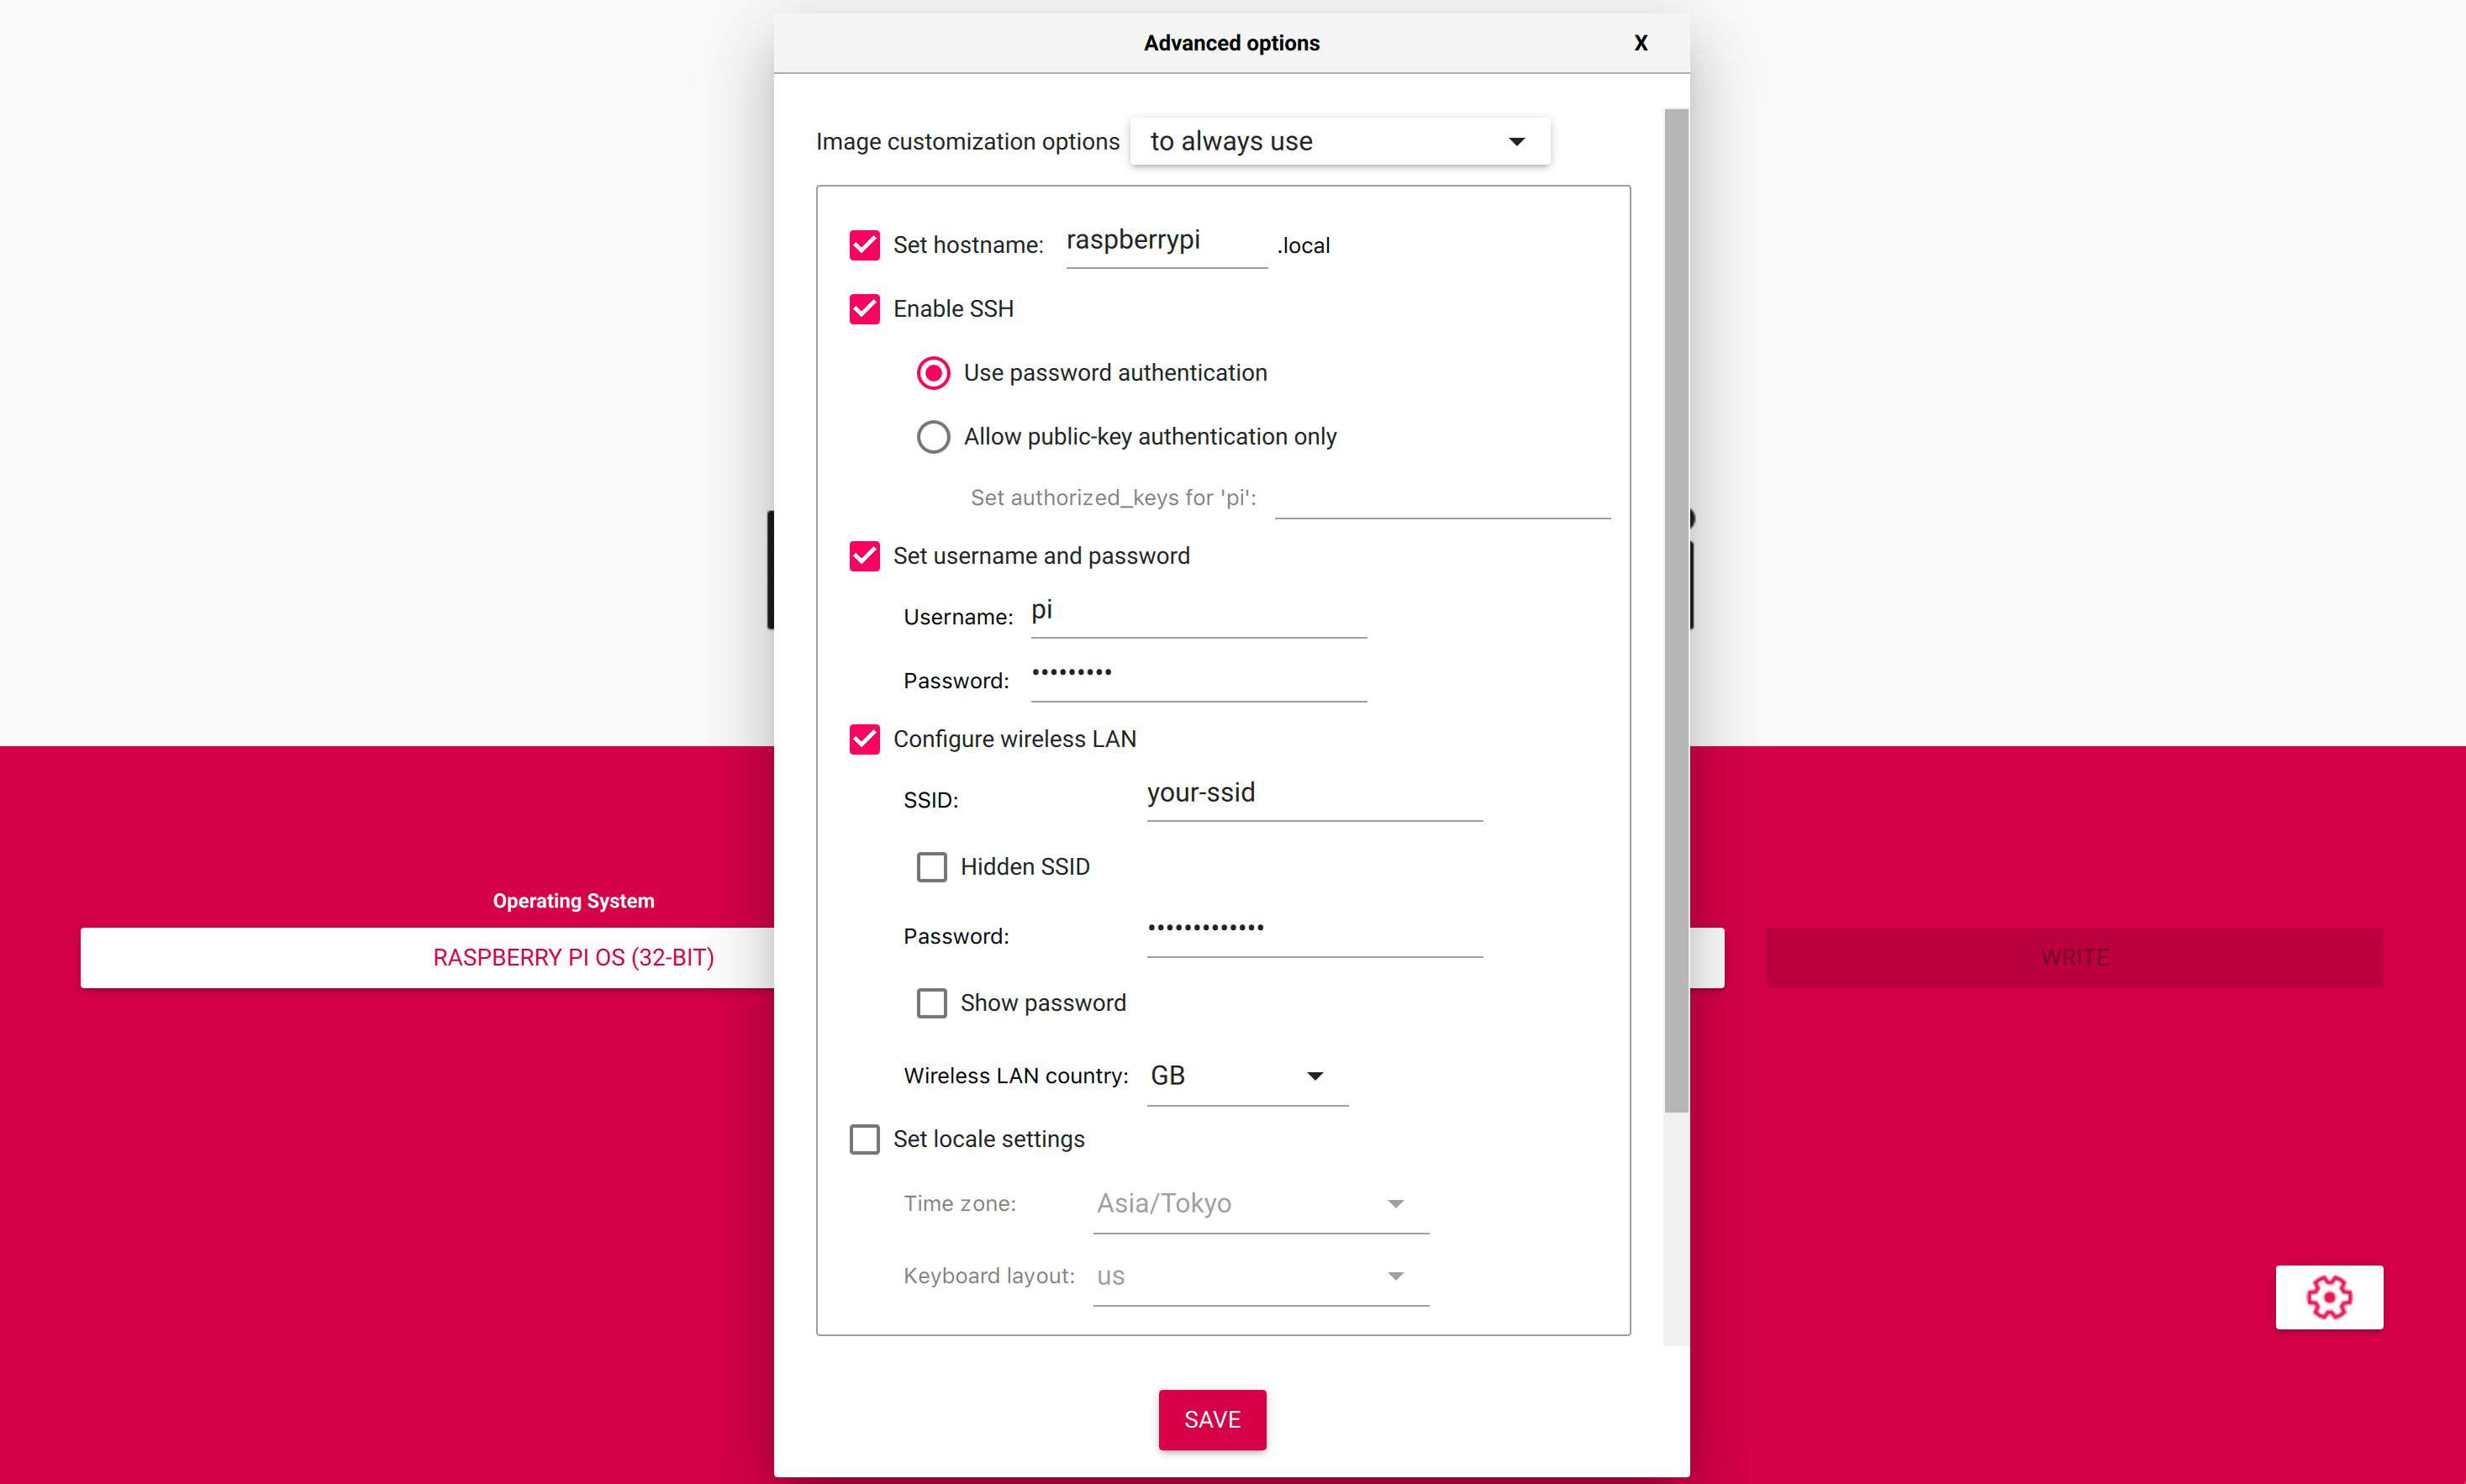
Wi-Fi を使う場合は Advanced options の
Configure wireless LANを設定してください。その他の情報は、ここでは以下のように設定しています。
- hostname: raspberrypi
- username: pi
- password: raspberry
PC と ai cast を接続しているケーブル・電源ケーブルを外します。
ai cast 側面のスイッチを BOOT から解除します。
ai cast に電源ケーブルを接続し、電源を入れます。
ai cast に SSH 接続します。
- Actcast Documents : Actsim へのアクセス に記載の通り イメージは Raspberry Pi 公式サイトから提供される Raspbian と同様のユーザ名・パスワード・ホスト名(pi, raspberry, raspberrypi)に設定されています。
- WSL (Windows Subsystem for Linux) で開発している場合 WSL 上の Linux からホスト名の解決が出来ない場合があります。その場合は PowerShell で
Resolve-DnsName <ホスト名>を実行して IP アドレスを確認し IP アドレスを直接指定することで SSH 接続できます。
カメラ有効化のため ai cast で以下を実行しソフトウェアのアップデートを行います。
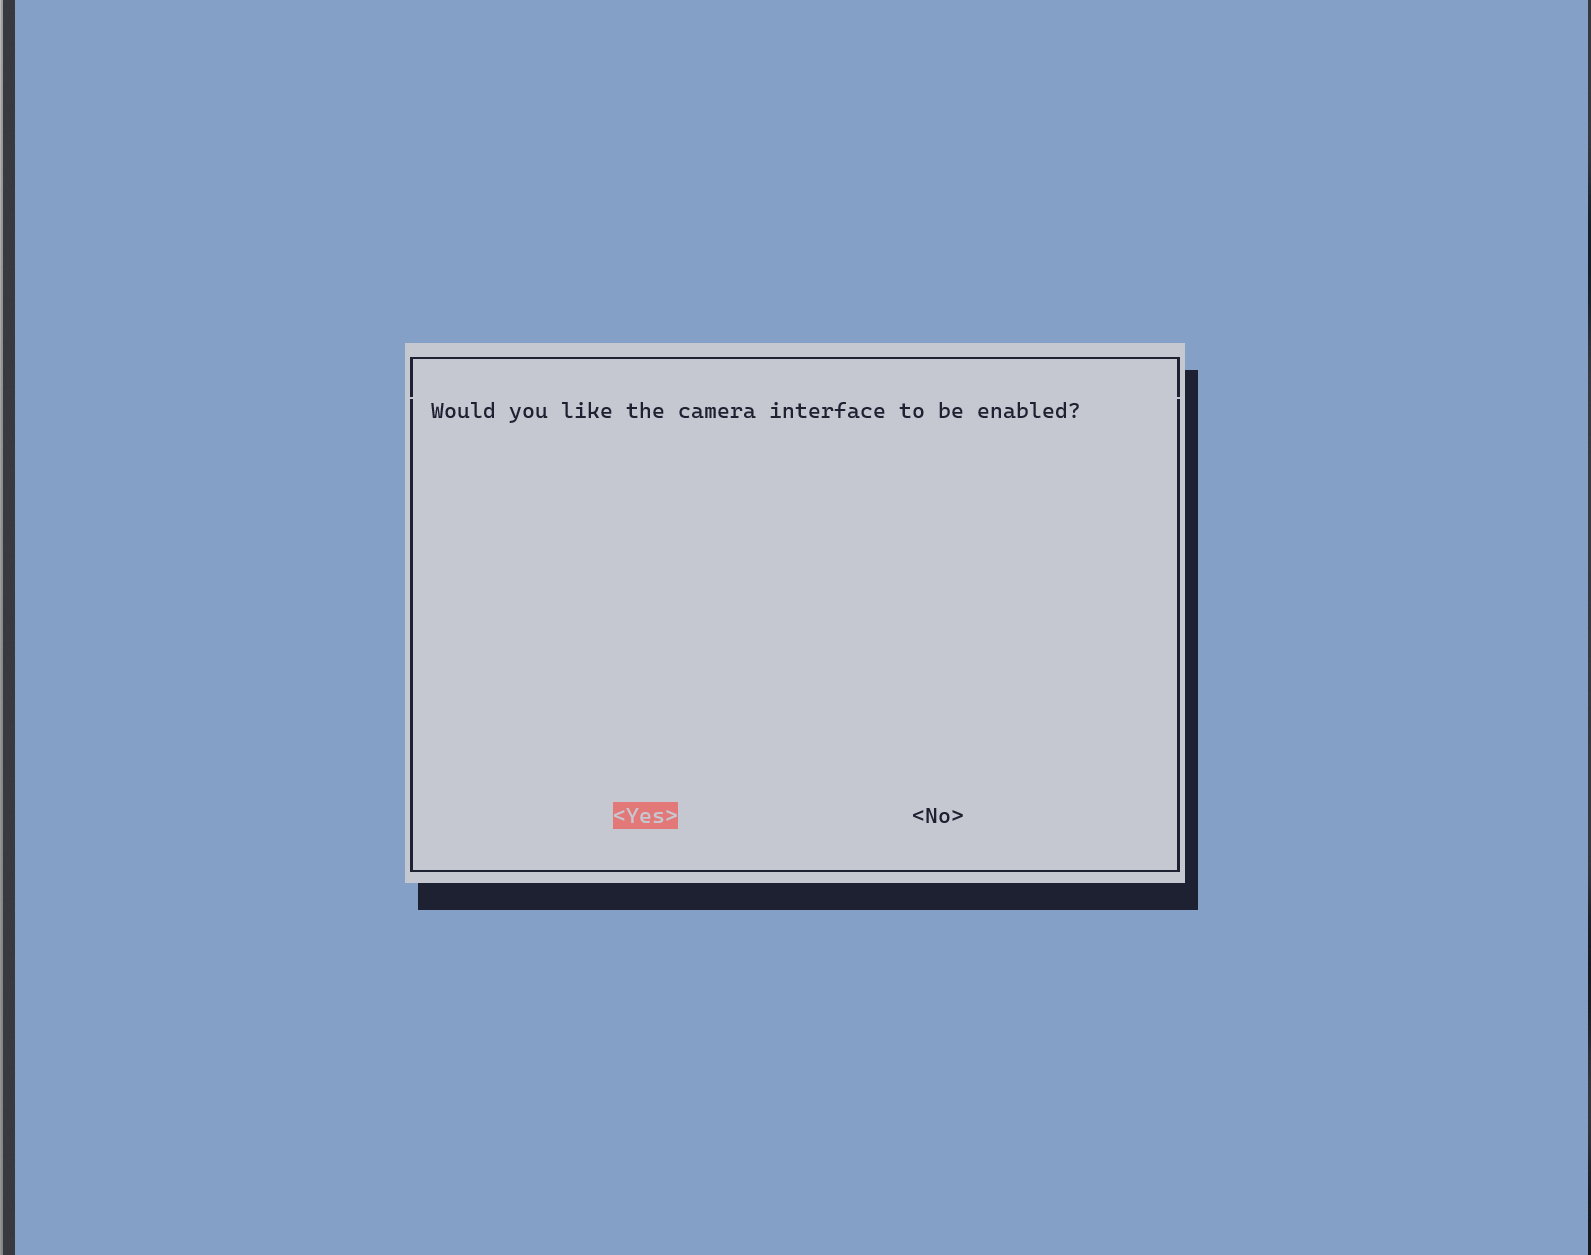
$ sudo apt update ; sudo apt full-upgraderaspi-config でカメラインターフェースを有効にします。
$ raspi-config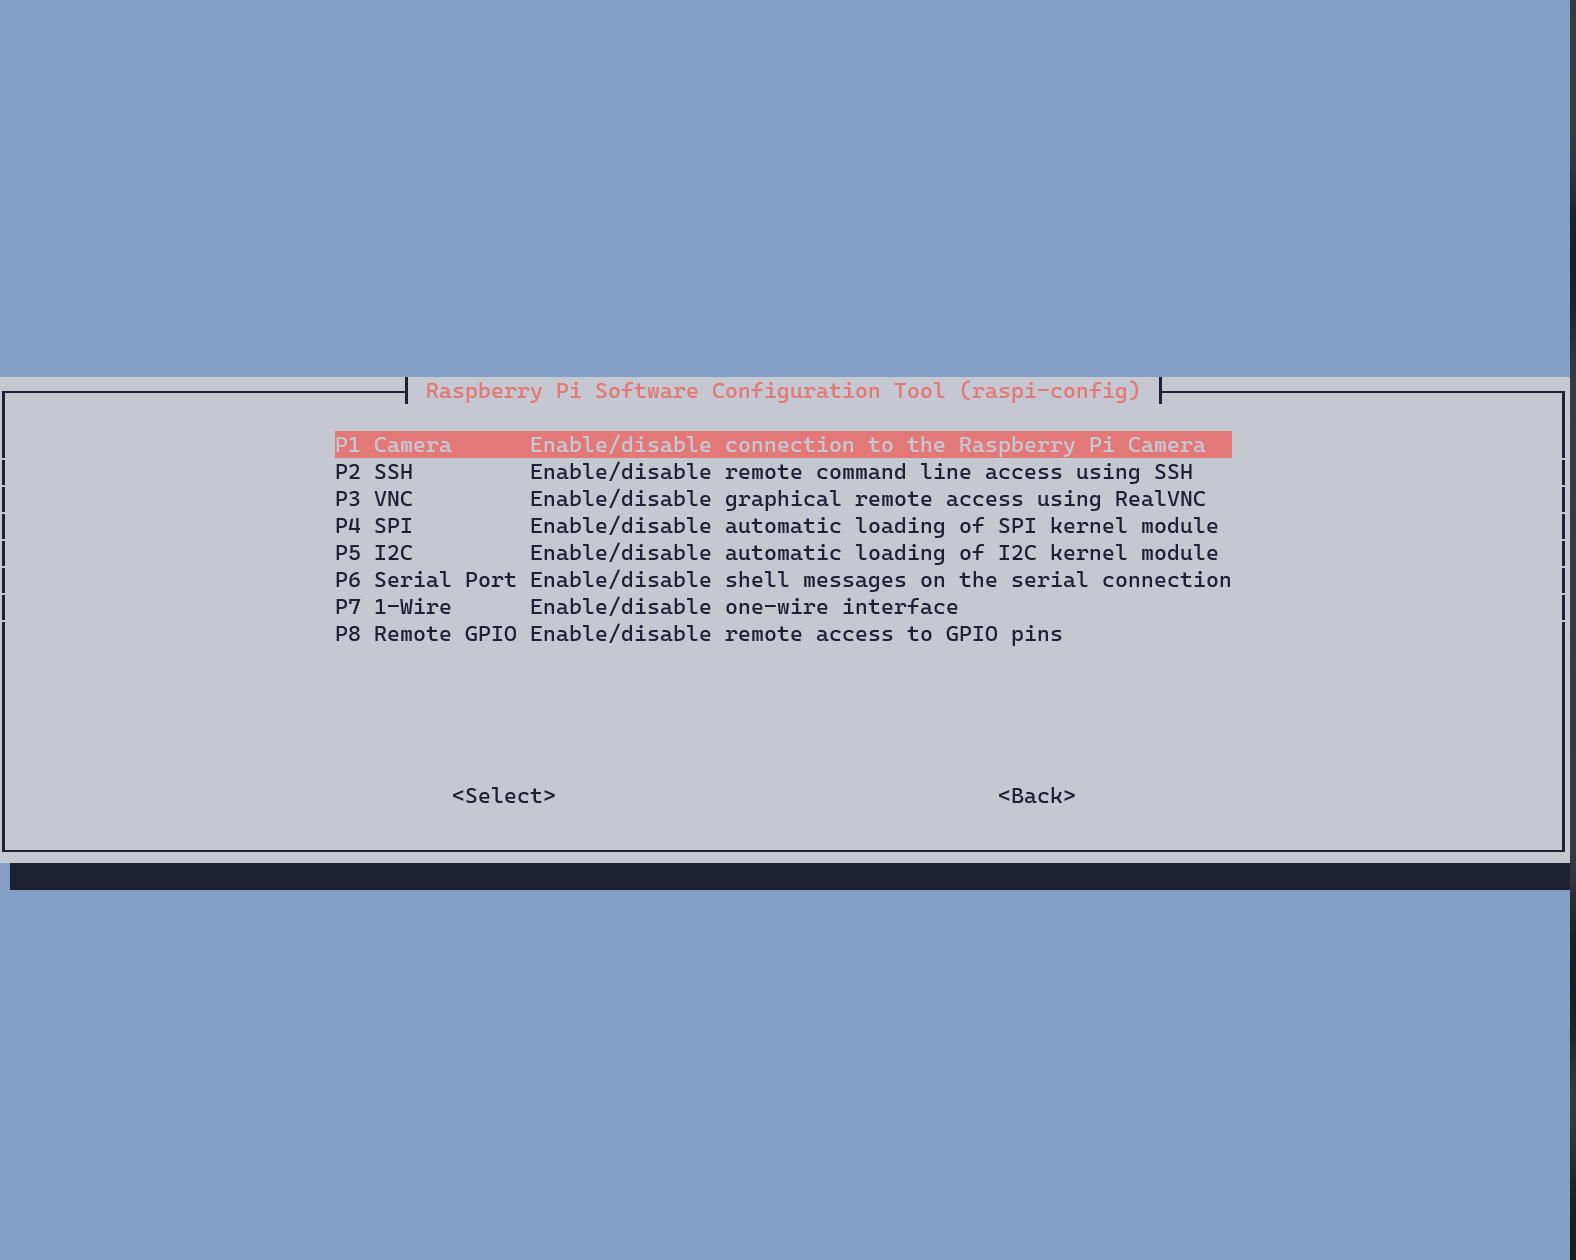
dt-blob.bin を追加します
$ wget http://goo.gl/U4t12b -O /boot/dt-blob.binai cast を再起動します。
$ sudo rebootHailo ドライバをインストールするため以下を実行します。
$ sudo apt install git
$ sudo apt install raspberrypi-kernel-headers
$ git clone https://github.com/hailo-ai/hailort-drivers.git
$ cd hailort-drivers
$ git checkout v4.10.0
$ cd linux/pcie
$ sed -i "s/raspi/$(hostname)/g" Kbuild
$ make all
$ sudo make install
$ sudo modprobe hailo_pci
$ cd ../../
$ ./download_firmware.sh
$ sudo mkdir /lib/firmware/hailo
$ sudo mv hailo8_fw.4.10.0.bin /lib/firmware/hailo/hailo8_fw.bin
$ sudo cp ./linux/pcie/51-hailo-udev.rules /etc/udev/rules.d/
ai cast を再起動します。
しばらく待ってから SSH 接続して
/dev/hailo0が出来ていることを確認できればインストール完了です。$ ls /dev/hailo0 /dev/hailo0
次のステップ: ai cast 向けサンプルコードの実行