Preparation #
Docker #
Installation #
Actdk internally uses Docker. See the document to install it.
Run as a non-privileged user #
As actdk uses Docker internally, users must have permission to operate Docker. After a default installation, you need to be a privileged user.
See the document to run Docker as a non-privileged user.
Docker and QEMU #
Docker supporting multi-architecture feature is required. When you install Docker, it is not enabled. Enable multi-architecture using multiarch/qemu-user-static as following:
$ docker run --rm --privileged multiarch/qemu-user-static --reset -p yes
For more details, see Multi-arch All The Things for details.
Download ActDK #
You must have been promoted to a Vendor group to download ActDK.
- RESTRICTED-VENDOR is added to the group ID on the console.
- For groups who have completed Stripe Connect,
VENDORis added to the group ID on the console.
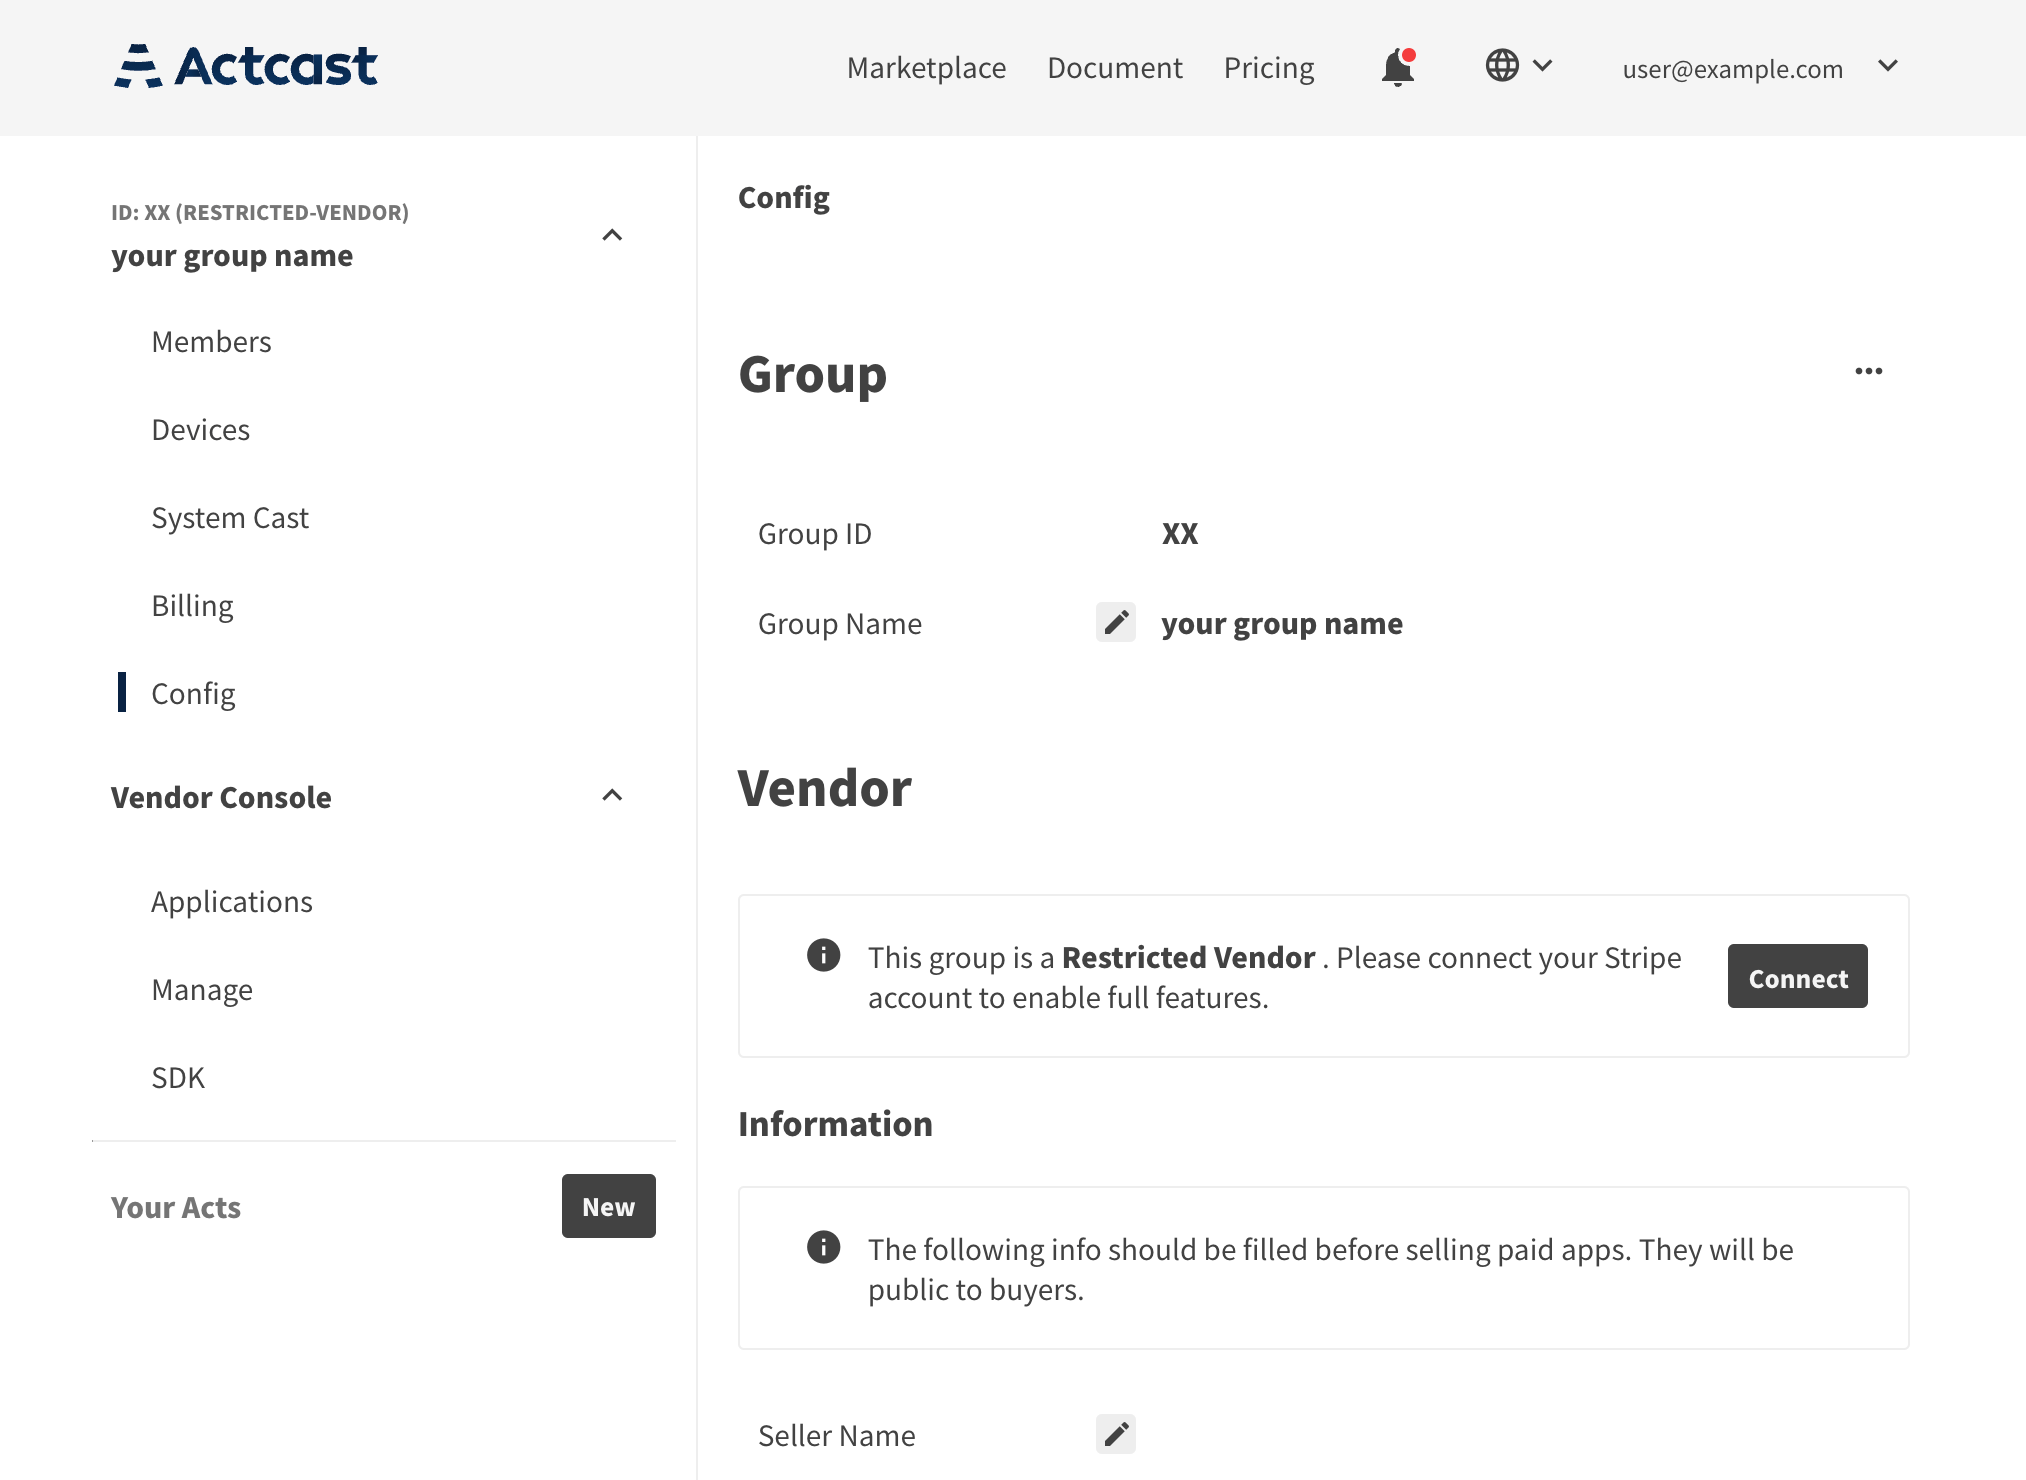
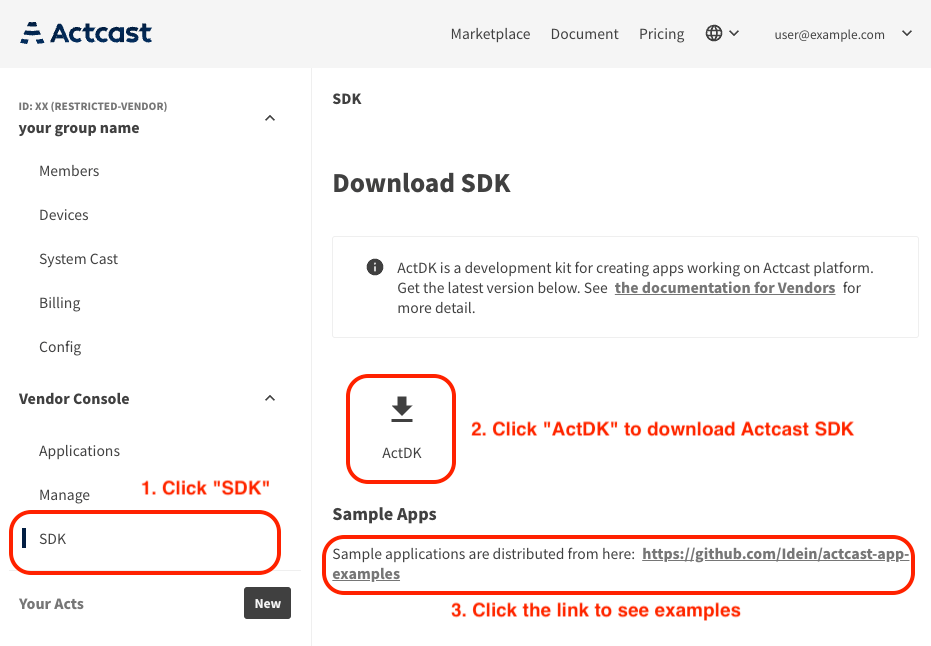
For groups that have completed the steps above, Vendor Console will appear in the left menu.
Click SDK to download ActDK. You can also get sample applications from the actcast-app-examples repository on GitHub.
Hardware required for ActDK #
ActDK assumes the following two-stage development cycle:
- Develop an application with a PC and a Raspberry Pi by using a direct connection.
- Upload the application to Actcast, and test the online-built application with a Raspberry Pi.
First, develop an Actcast application on your PC and communicate it directly with the Raspberry Pi to check its operation. You can check the operation quickly because the online build explained later is not performed, but ActDK Overview as mentioned above, deep learning models are transformed into slower implementations.
After confirming the operation in the local environment, the next step is to check the operation in the same way as the finally released application. Upload your application to Actcast; it will re-create your application with faster implementation of your deep-learning model.
Both two stages require a pair of Raspberry Pis and micro SD cards. Choose one of the following options:
- (Recommended) Prepare two pairs of Raspberry Pi and micro SD card; or
- Prepare one Raspberry Pi and two micro SD cards, and develop your application while switching the SD cards.
A suitable camera module is also required, such as a Raspberry Pi Camera Module or a generic USB camera.
See also Getting Started with Actcast for a list of required devices.
Next: Issue a Developer Token
Previous: ActDK Overview