Actcast Writer (macOS)
Actcast Writer (macOS)
This page describes how to use Actcast Writer on macOS.
Launch Actcast Writer
In this section, we show how to launch Actcast Writer for Mac.
- Double-click the downloaded
actcast-writer.dmg -
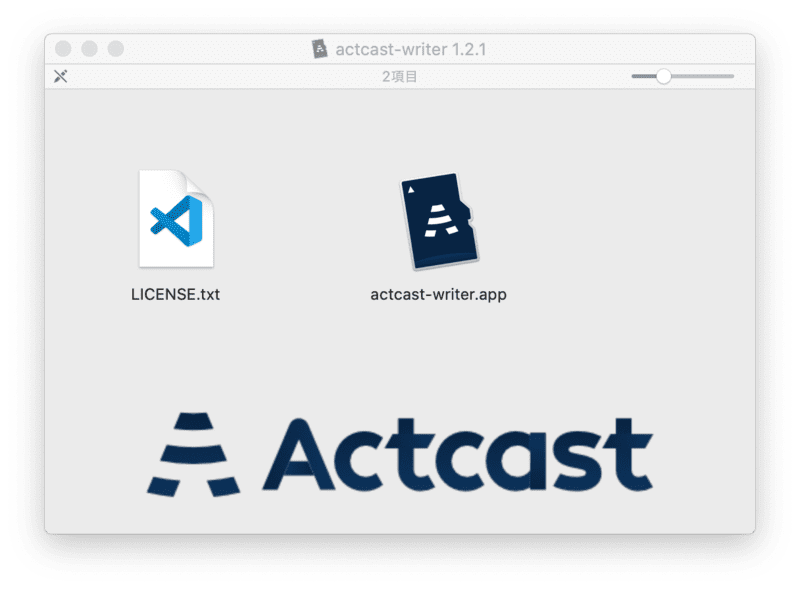
- When the screen shown below
actcast-writer.app, double-click it to open it. -
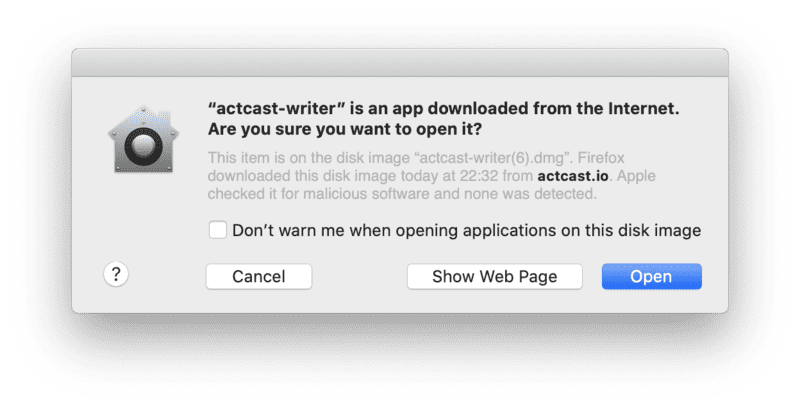
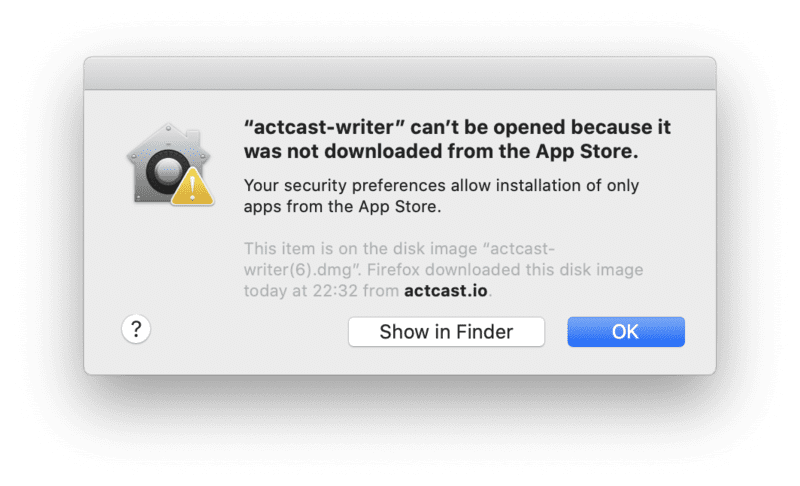
- If the “Open” button appears as shown below, press the “Open” button and proceed to step 5. If you get “Cannot open because it was not downloaded from the App Store”, proceed to step 4.
-
- If you see “actcast-writer” is an app downloaded from the Internet in step 3 as shown below, refer to here (external page) and enable “Allow apps downloaded from:” “App Store and identified developers “. Then proceed to step 2.
- When Actcast writer is as shown below, the startup is complete. Please continue Work with Actcast Writer.
-
Work with Actcast Writer
This section describes the procedure for actually writing data to a SD card using Actcast Writer.
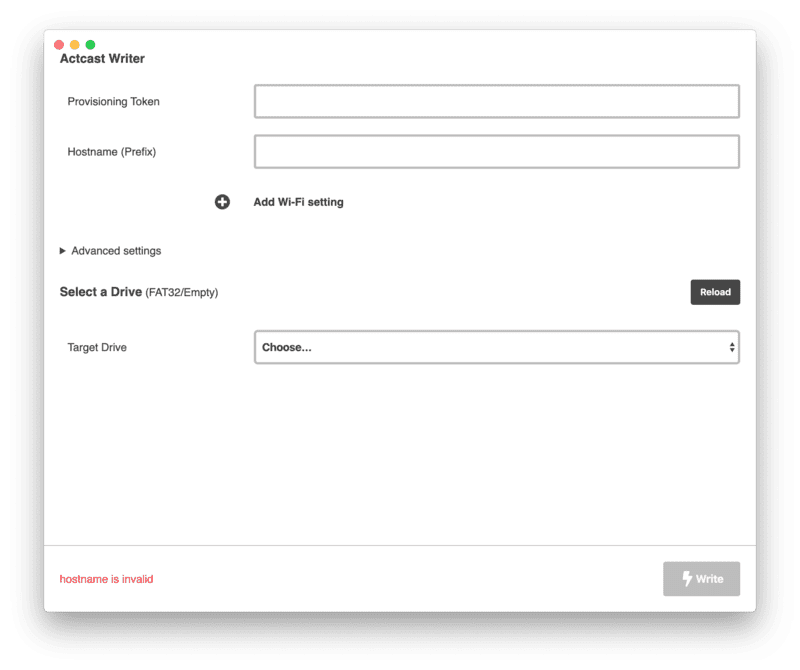
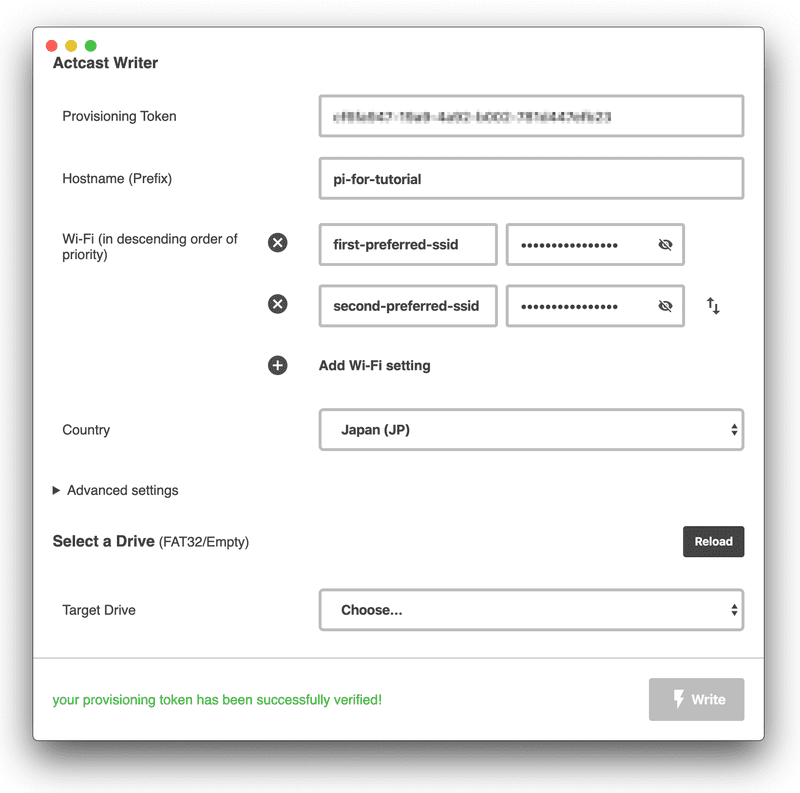
- Enter required data according to the Writer screen. The details of each item can be found in config details
- Enter the
Provisioning Token - Enter the
Hostname(Prefix) - (When using Wi-Fi from the device) Set the
Wi-Fi - Select
Country - Click
Advanced settings(if required).
- Enter the
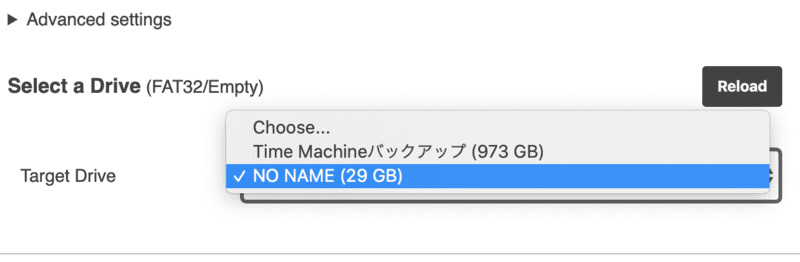
- Select the
Target Driveyou want to install.- The SD card
Target Drivemust be formatted. See the supplement for the format method. - If your SD card does not appear as an option, try the following:
- Make sure that the SD card is recognized by your PC running the Writer.
- Make sure the SD card is formatted.
- The SD card
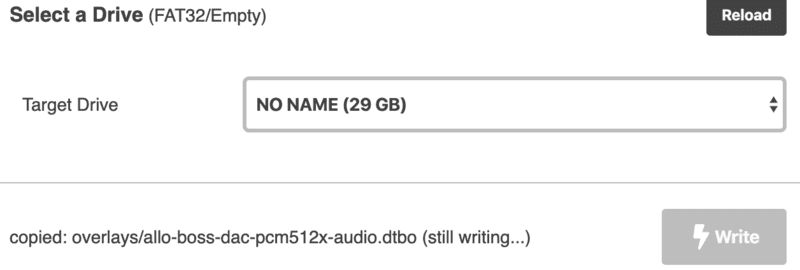
- Click the
Write- When writing to the SD card starts, the screen below will be displayed.
-
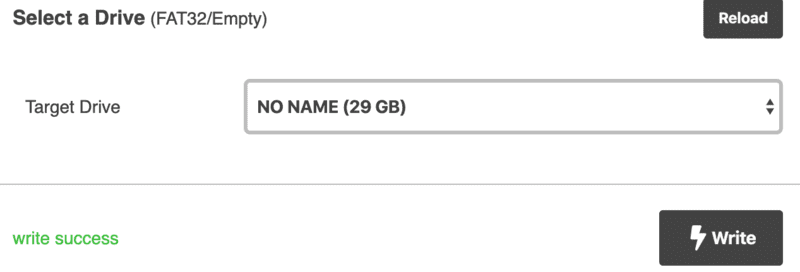
write successis displayed, the writing is successful.- It is possible to remove the SD card.
-
(Supplement) SD card format method
-
Use disk utility
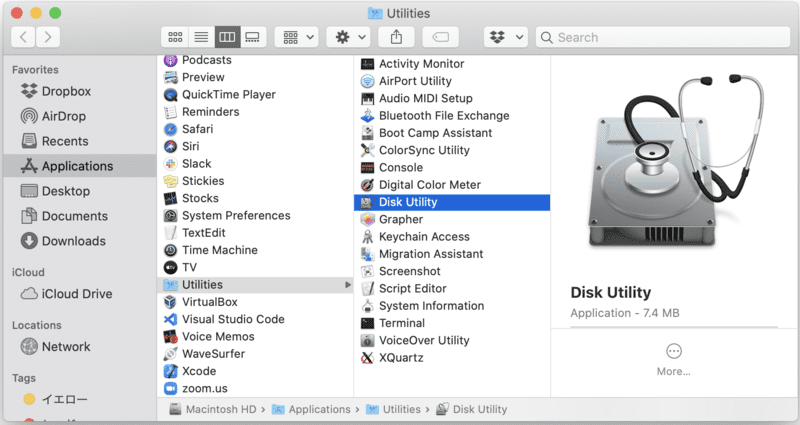
- Open
Finder - Click
Applications>Utilities>Disk Utility -
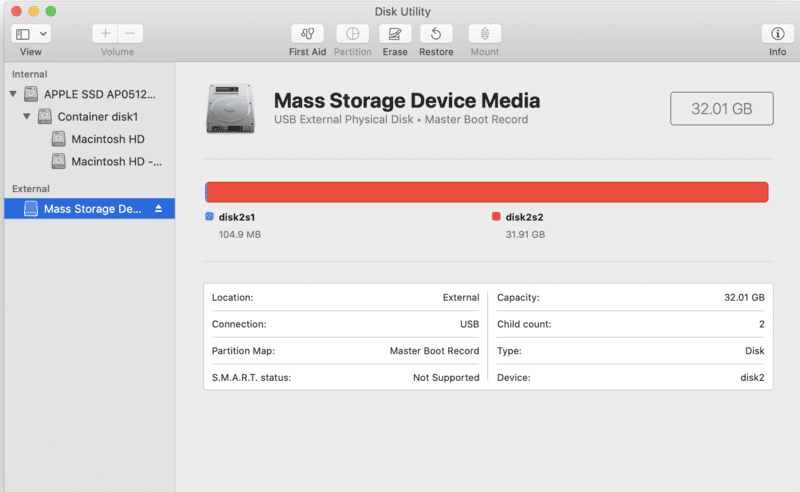
- From Disk Utility’s sidebar, select a drive for the micro SD card you want to format
-
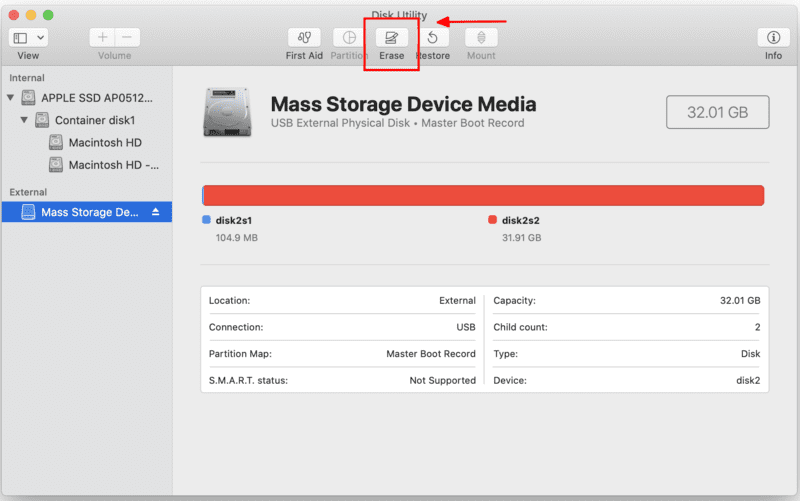
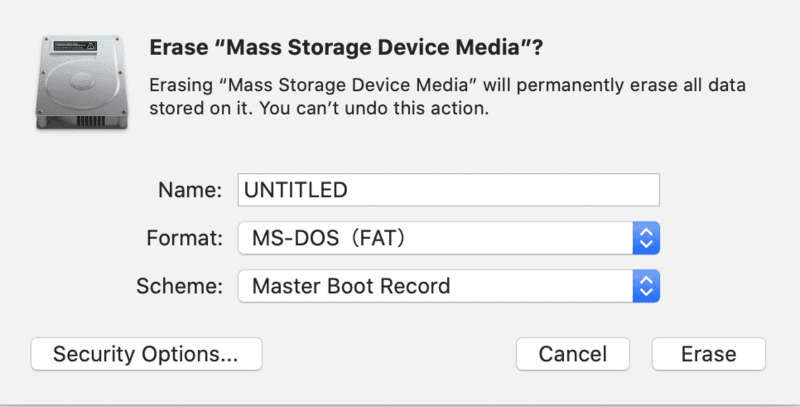
- Click
Deletebutton to display the dialog -
- Change
FormattoMS-DOS (FAT)andSchemetoMaster Boot Record, and press theErase -
- Open
-
If the installation screen does not appear even after formatting with Disk Utility, use SD Memory Card Formatter distributed by the SD Association.
Last updated on